7 Tips on How to Install Panic Exit Hardware Safely

Time:2026-09-08 Author:Oliver
0%

Installing panic exit hardware is a life-safety task, not merely a door upgrade. The device must release quickly, operate smoothly, and remain reliable during crowded evacuations. This guide explains how to install panic exit hardware safely, from checking the door condition to testing the final latch movement. It focuses on practical details, including mounting height, spindle alignment, strike clearance, fastener selection, and repeated operational testing.

Lori Greene, AHC/CDC, a respected door hardware consultant, often emphasizes, “The exit device is only one part of the opening.” That reminder matters. A strong device cannot correct a twisted frame, a sagging door, or an incorrectly positioned strike. Experienced installers inspect the entire opening before drilling. They also compare the device with the manufacturer’s templates, fire-door requirements, accessibility needs, and local authority guidance. Small errors become serious under pressure.

Check the door swing.

Measure twice.

A useful installation should feel controlled, not forced. The push bar should travel evenly, while the latch retracts completely without scraping the strike. After installation, test the door from both sides, under normal and simulated crowd pressure. Record unusual resistance, loose screws, delayed latching, or noisy movement. Some steps may still require reflection, especially when an older frame appears acceptable but hides structural damage. When conditions are uncertain, consult a qualified door hardware professional before modifying the opening. Safety depends on careful preparation, accurate fitting, and honest testing.
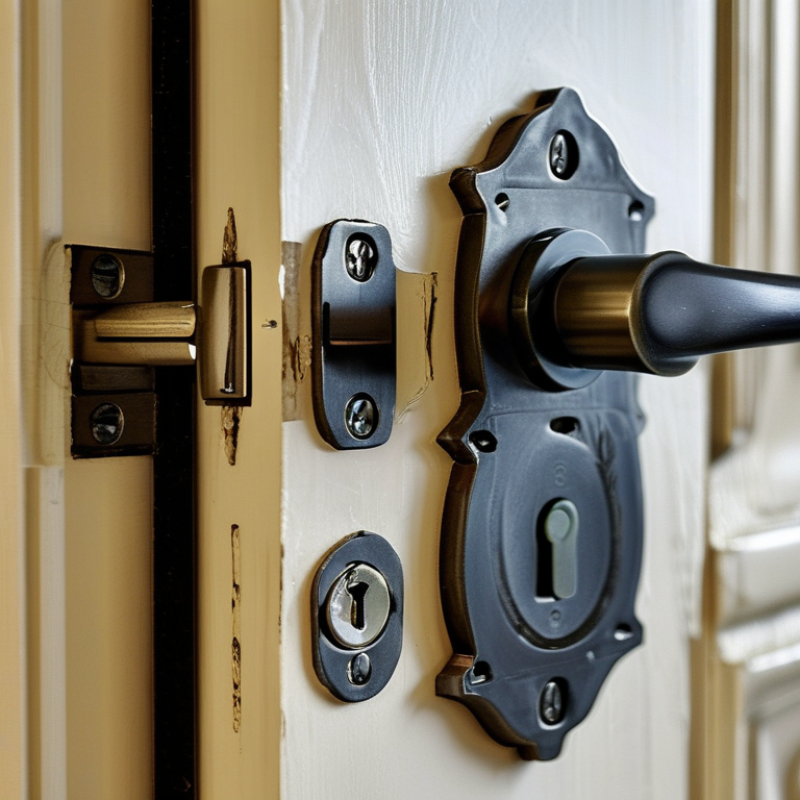
7 Tips on How to Install Panic Exit Hardware Safely

Understand Panic Exit Hardware Types and Safety Requirements

Panic exit hardware comes in several forms. Rim devices suit single doors with a surface-mounted latch. Mortise devices fit inside the door edge. Vertical-rod devices secure the top and bottom, but they need careful alignment. Touchpad designs may support easier operation for many users. Select the type according to door construction, traffic, fire rating, and exit use.

Check the door swing and clear opening before drilling. Confirm the hardware is certified for the intended door assembly. Follow the building, fire, accessibility, and emergency-egress requirements adopted in your area. Ask the authority having jurisdiction when requirements conflict. Mark the mounting height from the approved instructions, not from guesswork. Keep the push bar reachable without a key, code, or special knowledge. Install signage where occupants can see it quickly. Test the latch with the door closed.

A practical inspection should include several slow release tests. Press the bar near both ends. The latch should retract smoothly. Check that the door does not bind against the frame or floor. Verify that external trim cannot prevent free exit. Fire-rated openings may require compatible components and self-closing action. Do not modify listed parts casually. One field mistake is trusting a perfect-looking installation too soon. Temperature, settling, and repeated traffic can reveal weak alignment later. Recheck the fasteners after use, and document each test. Small details matter.

Inspect the Door, Frame, and Emergency Exit Conditions

Before installing panic exit hardware, inspect the entire door opening, not just the lock area. Open and close the door slowly. Watch for rubbing, sagging, loose hinges, or uneven gaps. A warped door may prevent the latch from releasing during an emergency. Check the frame for cracks, corrosion, bent sections, and weak anchor points. The frame must support repeated force without shifting.

Look closely at the emergency exit conditions. Keep the route clear of boxes, furniture, cables, and temporary equipment. Confirm that the door opens toward the escape path where required by local safety rules. Check floor levels, lighting, directional signs, and nearby obstructions. Requirements differ by building type and location, so a qualified installer or local authority should verify the design. Small details matter.

On site, I have found that a clean-looking frame can still hide poor alignment. Do not rush this inspection. Measure the door, frame, and available mounting space before drilling. Confirm that the hardware will not strike glazing, trim, or other fittings. After installation, test the push bar from the inside with one smooth action. The latch should retract fully, and the door should open without excessive force. Test it again with light pressure against the door. It is easy to miss. Check that the door closes, relatches, and remains secure afterward. Record any weakness instead of accepting a nearly perfect result.

7 Tips on How to Install Panic Exit Hardware Safely - Inspect the Door, Frame, and Emergency Exit Conditions

Tip Inspection Area What to Check Before Installation Safe Installation Practice Acceptance Criteria Record
1 Confirm the exit route Verify that the door serves a required emergency exit route, opens in the permitted direction, and is not blocked by stored materials, equipment, or security devices. Keep the egress path clear. Confirm that the selected exit hardware is appropriate for the occupancy, door location, and applicable building and fire-safety requirements. The route is continuous, visible, and usable without moving obstacles or using a key. Route checked
2 Inspect the door leaf Check the door for cracks, corrosion, warping, loose hinges, damaged edges, and previous holes that could weaken the door. Repair or replace damaged components before fitting the exit device. Confirm that the door closes freely and is compatible with the selected hardware. The door is rigid, aligned, and capable of closing and latching without excessive force. Repair if needed
3 Inspect the frame and stops Examine the frame for distortion, loose anchors, damaged stops, corrosion, and interference with the latch or strike. Use the correct fasteners and reinforcement for the frame material. Do not drill into concealed wiring, fire-rated components, or structural elements. The frame remains secure and square, and the latch can engage the strike without binding. Frame checked
4 Verify hardware suitability Confirm the device type, door handing, clear opening, trim function, latch arrangement, and any fire or accessibility requirements. Follow the hardware manufacturer’s installation instructions and use only the supplied or specified fasteners, templates, and components. The device is suitable for the door assembly and does not conflict with other locks, closers, alarms, or access-control equipment. Compatibility verified
5 Install at the correct position Review the installation template and measure the device location from the door edge, frame, and finished floor as specified for the product. Mark accurately, drill straight pilot holes, protect the door surface, and tighten fasteners evenly without over-tightening or deforming the door. The exit device is level, firmly attached, and does not obstruct the opening, glazing, signage, or adjacent doors. Position verified
6 Test the release operation Check whether the push bar or touchpad moves smoothly and whether the latch retracts completely when pressure is applied. Test the door from the egress side with no key, special knowledge, or unnecessary manipulation. Adjust the strike, rods, dogging, or trim only as permitted by the instructions. The door releases smoothly, opens without binding, and re-latches when released, unless the approved design requires otherwise. Functional test passed
7 Complete final safety checks Inspect labels, exit signs, door closer action, alarm or access-control interfaces, and the condition of the surrounding emergency exit area. Coordinate testing with the responsible safety or facilities personnel. Document defects and remove the door from service if it cannot provide reliable egress. The exit is clearly identified, unobstructed, secure when closed, and immediately usable during an emergency. Final inspection complete

Safety note: Installation and acceptance should be checked against the applicable local building, fire, accessibility, and occupational-safety requirements, together with the specific instructions for the selected exit hardware.

Gather Tools and Prepare the Installation Area

Before installing panic exit hardware, prepare the doorway like a controlled work area. Clear boxes, mats, and loose cables from both sides of the door. Keep the exit path open. A temporary warning sign can prevent someone from pushing through during the work.

Gather a tape measure, pencil, drill, correctly sized bits, screwdrivers, a level, hex keys, protective glasses, and a small flashlight. Use the hardware instructions to confirm fastener sizes and mounting positions. Check the door, frame, hinges, and existing strike plate for damage. Measure twice, and mark lightly.

Wear eye protection when drilling. Keep fingers away from the latch edge. Before making holes, confirm that wiring, glass, and reinforcement will not be damaged. I have seen rushed measurements leave a push pad slightly off-center, causing unnecessary adjustment later. It looked acceptable at first, but the latch did not retract smoothly. Slow down here.

The installation surface must be clean and stable. Remove dirt around the mounting area, but do not weaken the door by enlarging holes casually. If the frame is distorted, stop and correct the condition before fitting the device. Verify the required mounting height and clearance against current local building and fire-safety requirements. A level helps, but it cannot replace careful measurement. Test the door movement by hand before tightening every screw. Save that final check.

Install and Align the Panic Exit Device Step by Step

Before installing panic exit hardware, inspect the door, frame, hinges, and mounting surface. The door should close smoothly without rubbing or sagging. Measure the door width and mark the device centerline at a comfortable operating height. Follow the manufacturer’s instructions and check local fire and accessibility requirements.

Hold the device against the marked line, then transfer each mounting hole carefully. Drill straight pilot holes without forcing the bit through the opposite face. Install the mounting screws loosely at first. This allows small adjustments.

Attach the touch bar, end cap, and outside trim if required. Keep the bar level with the door edge. A slight tilt can create uneven pressure.

Now test the latch with the door open. Press the bar; the latch should retract fully and return without sticking. Close the door slowly and check whether the latch enters the strike cleanly. Adjust the strike position before tightening every screw. The door must open with one smooth push, not a hard shove. Test again with light gloves and normal hand pressure. That detail is easy to miss. I once focused on a perfect centerline and overlooked a warped frame, which caused repeated binding. Finish by tightening fasteners gradually, checking alignment after each adjustment, and recording the final inspection. A qualified professional should review the installation when the opening serves a high-occupancy area.

Test, Adjust, and Maintain the Hardware for Reliable Operation

7 Tips on How to Install Panic Exit Hardware Safely

Tip 1: Test the opening before installation. The door should swing freely without rubbing the frame. Check the hinges, floor clearance, and latch alignment. Follow current local fire and building requirements. If the exit serves many people, ask a qualified installer to inspect the setup.

Tip 2: After fitting the panic hardware, press the bar from several positions. The latch should release smoothly with one firm push. Test it with the door closed, then repeat with light pressure against the door. Do not accept sticking, delay, or excessive force. A few seconds matter during an emergency.

Tip 3: Adjust the strike and latch carefully. Small alignment changes can improve operation, but overtightening may distort the door or trim. I once focused too much on a perfect appearance and missed a weak return spring. That mistake reminded me to test movement, not just finish quality.

Tip 4: Check the hardware at scheduled intervals. Look for loose screws, worn contact points, bent components, and damaged fasteners. Clean moving surfaces with an approved method, and avoid products that attract dust. Record each inspection date and any adjustment made.

Tip 5: Test the exit with normal building conditions. Include temperature changes, door pressure, and nearby floor mats. A door may work perfectly in a quiet workshop but fail after daily traffic. Keep the exit route clear, and arrange prompt repair when the release action feels unusual.

7 Tips on How to Install Panic Exit Hardware Safely

Recommended verification intervals for testing, adjusting, and maintaining panic exit hardware. Always follow applicable local codes and the hardware manufacturer’s instructions.

Daily checks focus on visible damage and obstructions. Functional testing should be completed at least monthly, while a documented annual inspection should confirm alignment, fasteners, latching, releasing, and self-closing performance.

FAQS

: What type of panic exit hardware suits a single door?

: Rim devices suit many single doors with surface-mounted latches. Mortise devices fit inside the door edge. Choose based on construction, traffic, fire rating, and exit use.

What should I check before drilling?

Check the door swing, clear opening, frame, hinges, and floor clearance. Confirm the hardware suits the complete door assembly. Follow local building, fire, accessibility, and emergency-egress requirements.

How high should the push bar be mounted?

Use the approved installation instructions for the mounting height. Do not rely on guesswork. The bar must remain reachable without a key, code, or special knowledge.

How can I check latch operation?

Test the latch with the door open. Press the bar near both ends. It should retract fully and return smoothly. No sticking.

What should I test after closing the door?

Close the door slowly and watch the latch enter the strike. The door should open with one smooth push. Check it using normal hand pressure and light gloves.

What alignment problems commonly occur?

A warped frame, loose screws, or a misplaced strike can cause binding. A slight device tilt may create uneven pressure. A perfect centerline can still hide a poor fit.

How often should panic exit hardware be inspected?

Inspect it at scheduled intervals and after heavy use. Look for loose screws, worn contact points, bent parts, and damaged fasteners. Record each test and adjustment.

What conditions should be included during testing?

Test with door pressure, temperature changes, floor mats, and normal traffic. Workshop results can mislead. Small details matter.

What should I do if the release feels unusual?

Stop treating the opening as reliable until it is checked. Arrange prompt repair or qualified review, especially in a high-occupancy area. Do not casually modify listed components.

Conclusion

Learning how to install panic exit hardware safely begins with understanding the available device types, their intended applications, and essential safety requirements. Before installation, inspect the door, frame, hinges, strike area, and surrounding emergency exit path to confirm that everything is secure, level, and free from obstructions. Gather the correct tools, read the product instructions carefully, and prepare a clean, well-lit work area to reduce installation errors.

Mount the panic exit device according to the door’s measurements, keeping the body, touch bar, and latch properly aligned. Secure all fasteners without overtightening, then check that the door closes and opens smoothly with minimal force. Test the release function from inside, verify that the latch fully retracts, and ensure the exit remains accessible during an emergency. Regular maintenance should include checking screws, alignment, moving parts, and signs of wear. These practical steps help support dependable operation and explain how to install panic exit hardware safely.

Oliver

Oliver

Oliver is a seasoned marketing professional with a wealth of expertise in driving brand awareness and engagement. With a deep understanding of our company's product offerings, he consistently delivers high-quality content that enriches our professional blog. His insights not only shed light on......