Installing door hinges properly is crucial for the functionality and longevity of your doors. Many people overlook this step, leading to misalignment and difficulties in operation. Learning how to install door hinges properly can save you time and frustration in the long run.
In this guide, we will present the top 10 tips for effective hinge installation. Each tip draws on professional experience and expert knowledge to ensure you achieve a secure fit. From selecting the right tools to understanding door weight, every detail matters. Ignoring even one recommendation can result in a poorly installed hinge, causing future problems.
Consider measuring your door and frame carefully. Accurate measurements are essential in avoiding misalignment. A slight deviation can lead to operational issues. Additionally, think about the type of hinge; choosing the right one directly impacts the performance. Reflect on any past experiences with door installation, and don't hesitate to rethink your approach based on what you learn here.
Door hinges are essential for smooth door operation. They influence efficiency during installation. A well-installed hinge ensures the door opens and closes seamlessly. According to a report by the Door Hardware Institute, improper hinge installation can lead to a 30% increase in maintenance costs over time. This highlights the critical nature of understanding hinge placement.
Many installers overlook the proper alignment of hinges. Misalignment can cause friction and premature wear. This can lead to doors sticking or not closing properly. The National Association of Home Builders suggests that around 25% of all door-related issues stem from poor hinge installation. Attention to detail in this area can save time and resources.
Improper installation may seem minor, but its effects can ripple through a project. Builders often need to revisit these issues, costing both time and materials. A recent survey indicated that nearly 40% of contractors faced delays because of these basic oversights. This emphasizes the necessity of educating installers on proper techniques and reinforcing quality control measures.
: Match the hinge size and type to your door's weight. Heavy doors need sturdy hinges, while lighter ones need standard hinges.
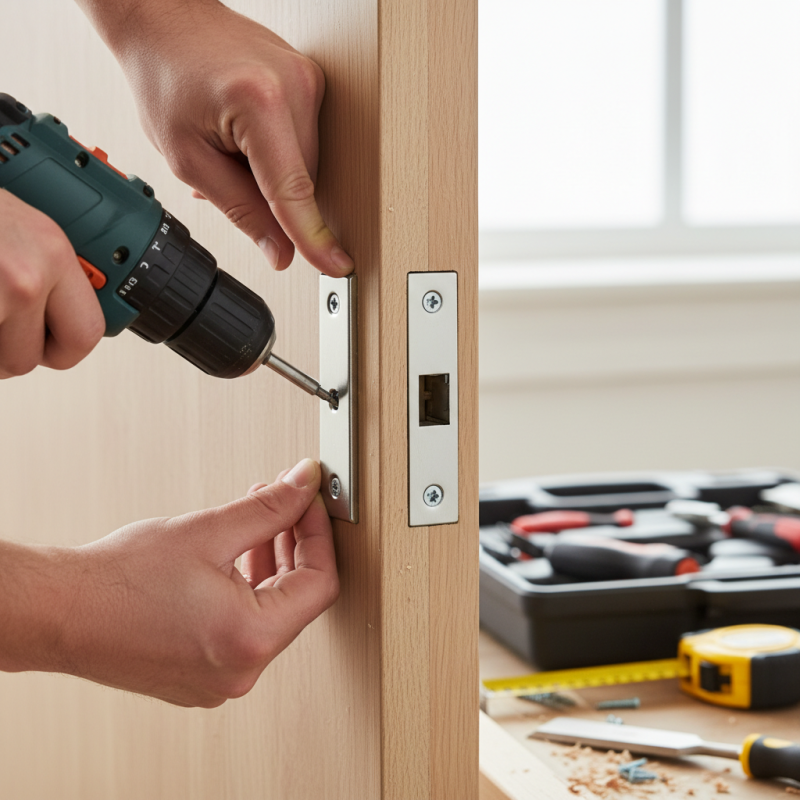
Always measure your door's thickness. A misfit can cause the door to malfunction, so measurement is essential.
Test the hinge by opening and closing it multiple times. Listen for any noise; unwanted sounds might mean a bad fit.
Brass or stainless steel provide a modern look. However, remember some materials may rust or tarnish over time.
Misalignment is a frequent problem, causing door sagging. Over time, this can lead to replacement needs and increased costs.
Using the wrong screws can weaken the connection. Industry standards advise screws designed for hinges to enhance durability.
Many neglect lubrication, but it's crucial. Regularly applying lubricant prevents rust and squeaky doors, extending hinge life.
Regular maintenance is key. Consistent checks and lubrication can save you time and money on replacements down the line.
Skipping steps may lead to premature wear. Errors can compromise functionality and necessitate costly replacements.
While polished finishes look great, they may require more maintenance. Sometimes, a simpler finish is a more practical choice.
Installing door hinges properly is crucial for ensuring the efficiency and longevity of door functionality. Understanding the importance of choosing the right type and size of hinges sets the foundation for a successful installation. Equipped with essential tools and materials, homeowners can follow a step-by-step guide to align hinges accurately, promoting seamless operation.
Moreover, common mistakes during installation can lead to various issues, such as misalignment or damage, which can drastically affect the door's lifespan. By being aware of these pitfalls and adhering to the best practices outlined, anyone can learn how to install door hinges properly, ultimately enhancing both the aesthetic and functional aspects of their doors.